How to make a repeatable pattern in illustrator
I had to design a repeatable vector pattern for a client last week for the first time, and figured I’d share the process I used from start to finish. The pattern was for the local music startup Muzooka, and the goal was something music-related, subtle enough to sit as a background on their marketing materials.
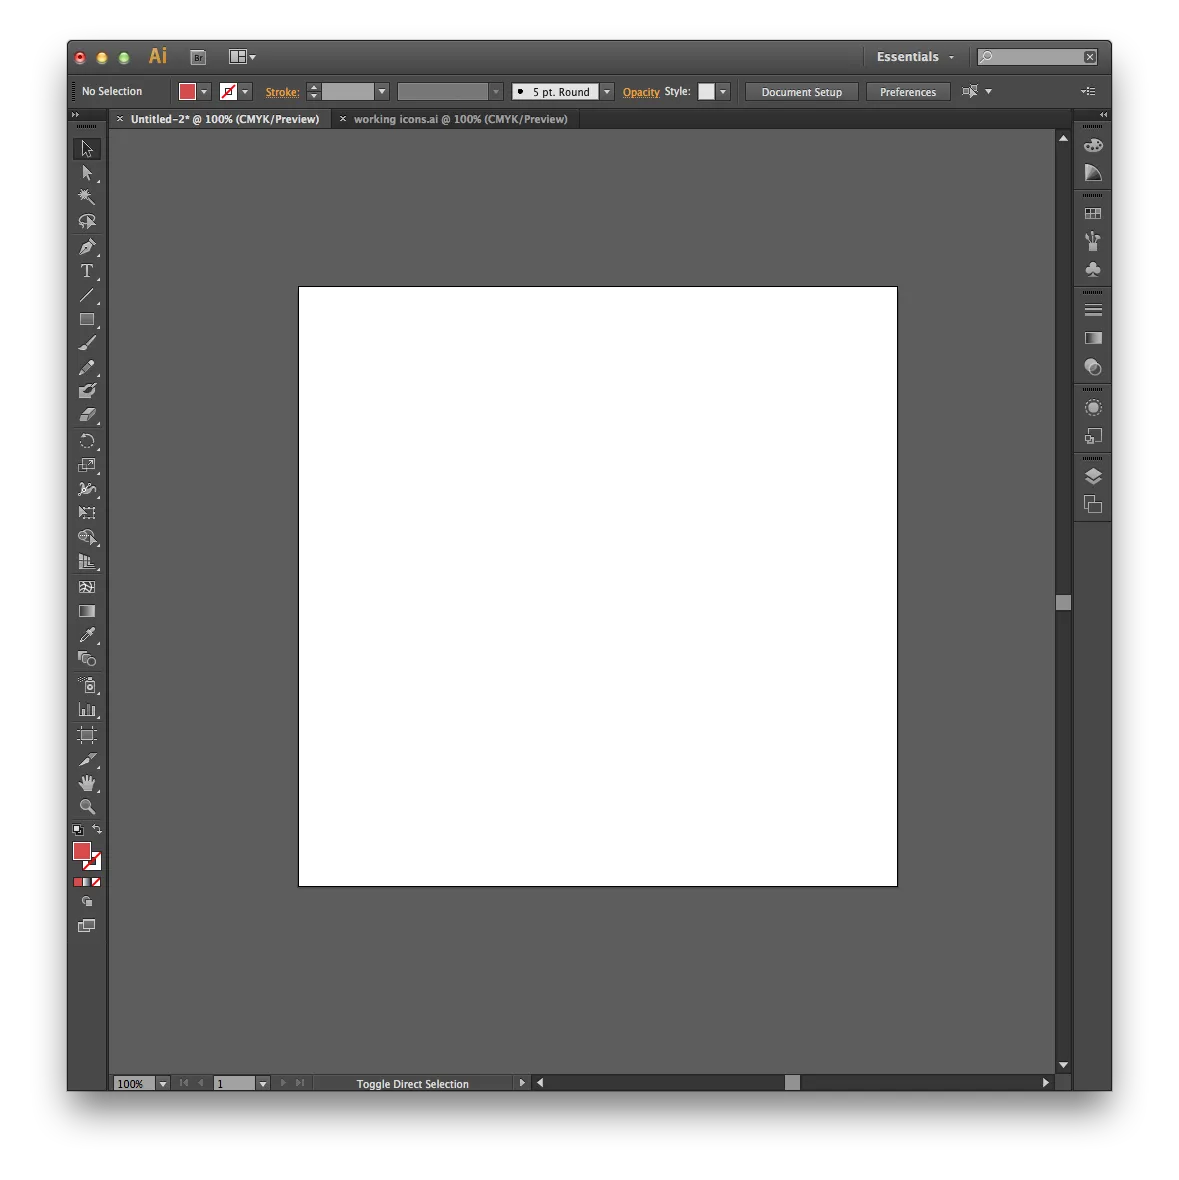
To start, create a new 600×600px document in Illustrator.
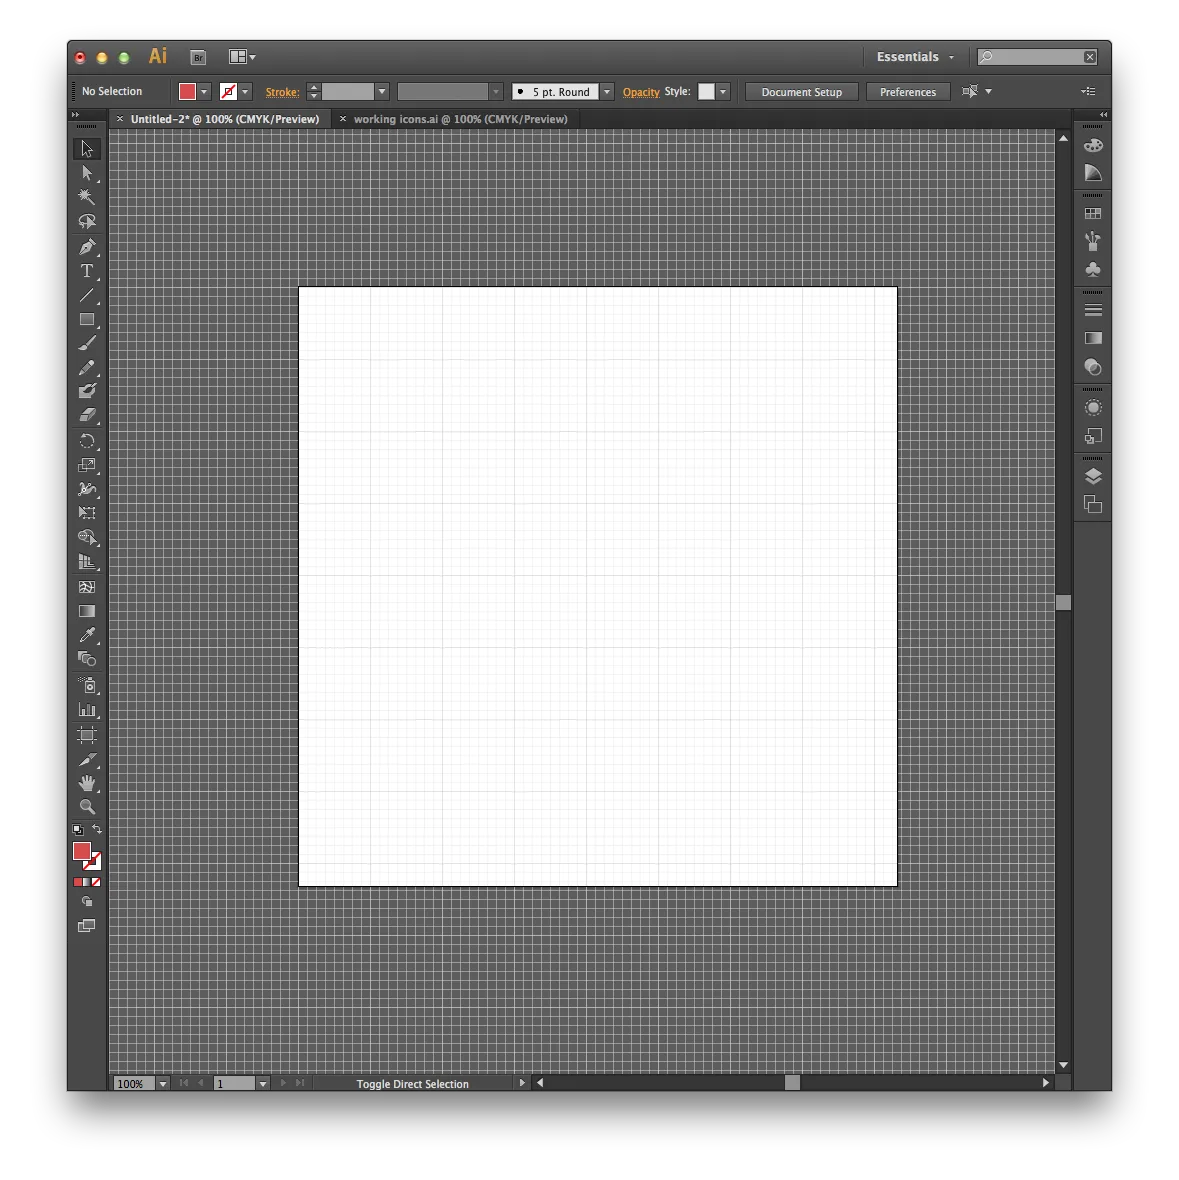
Turn on the grid — it makes the whole process much easier to keep aligned. View > Show > Grid.
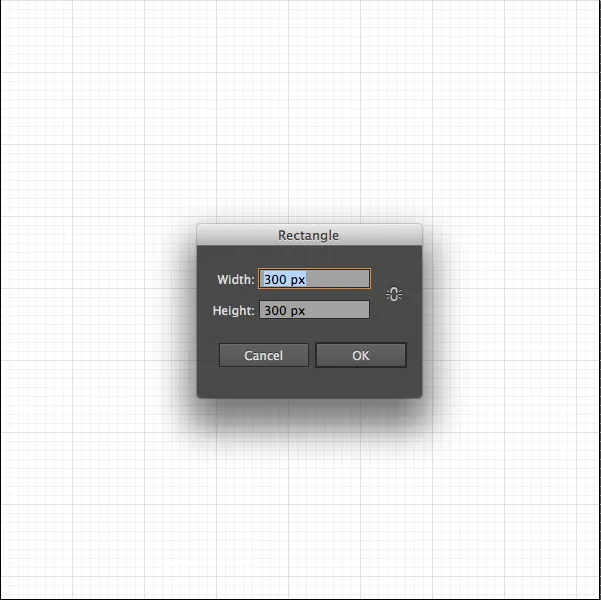
Next, draw a square exactly half the size of the canvas. Grab the rectangle tool (U), click once on the artboard, and enter 300px for both the width and height in the dialog that appears.
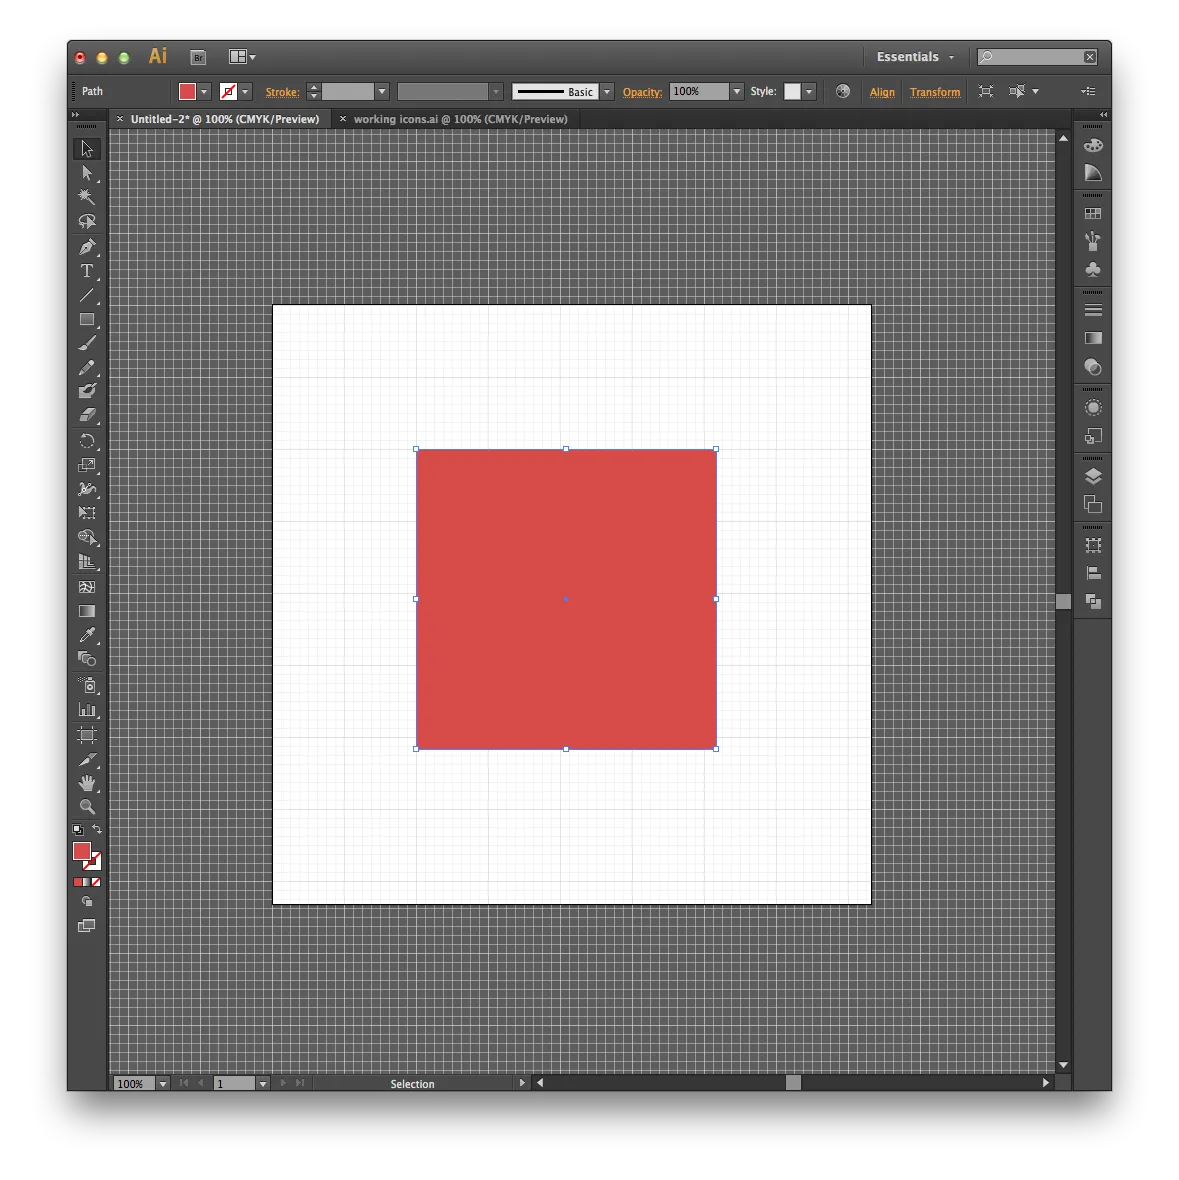
Center that square, give it a fill color so it’s easy to see, and lock the layer so you don’t accidentally select it later.
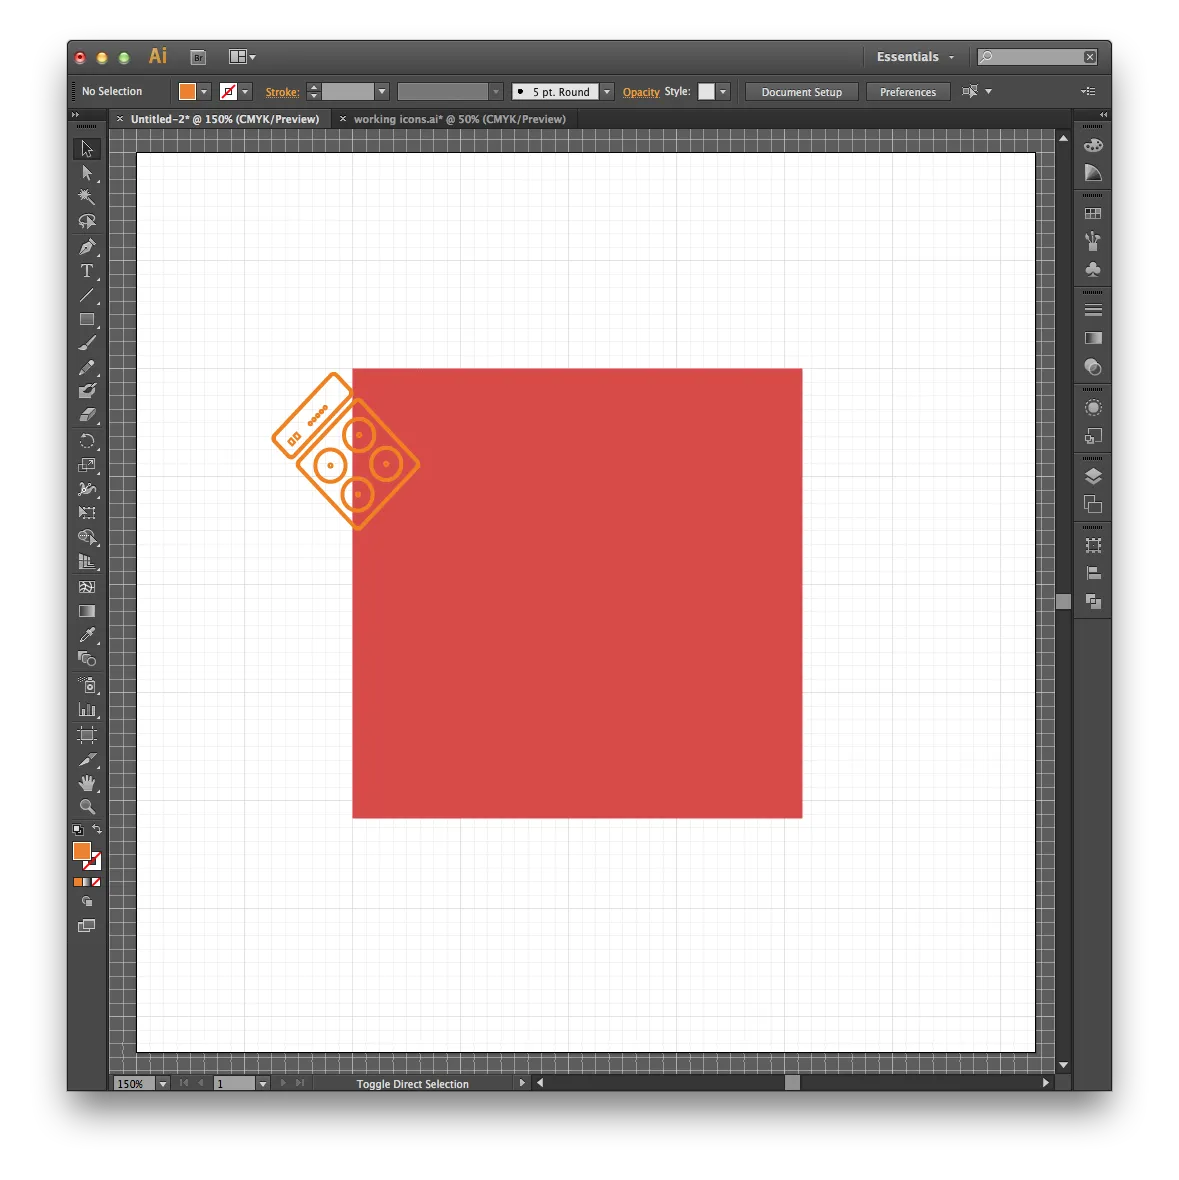
The key to this style of pattern is aligning your icons to the outer edge first. I brought in an amplifier icon and positioned it so its halfway point sat right on the left edge of the square.
Here’s the important part: every icon that touches the edge of the square needs an exact duplicate on the opposite edge, in the same relative position — otherwise the tile won’t repeat seamlessly. Since the tile is 300×300px, this is easy: open the Transform panel (Window > Transform) and add or subtract 300 from the X or Y value to mirror the icon to the other side. Adding 300 to X moves it right, subtracting moves it left; the same logic applies to Y and up/down.
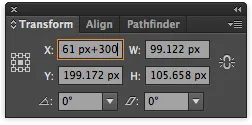
With that, the icons are exactly where they need to be to repeat cleanly.
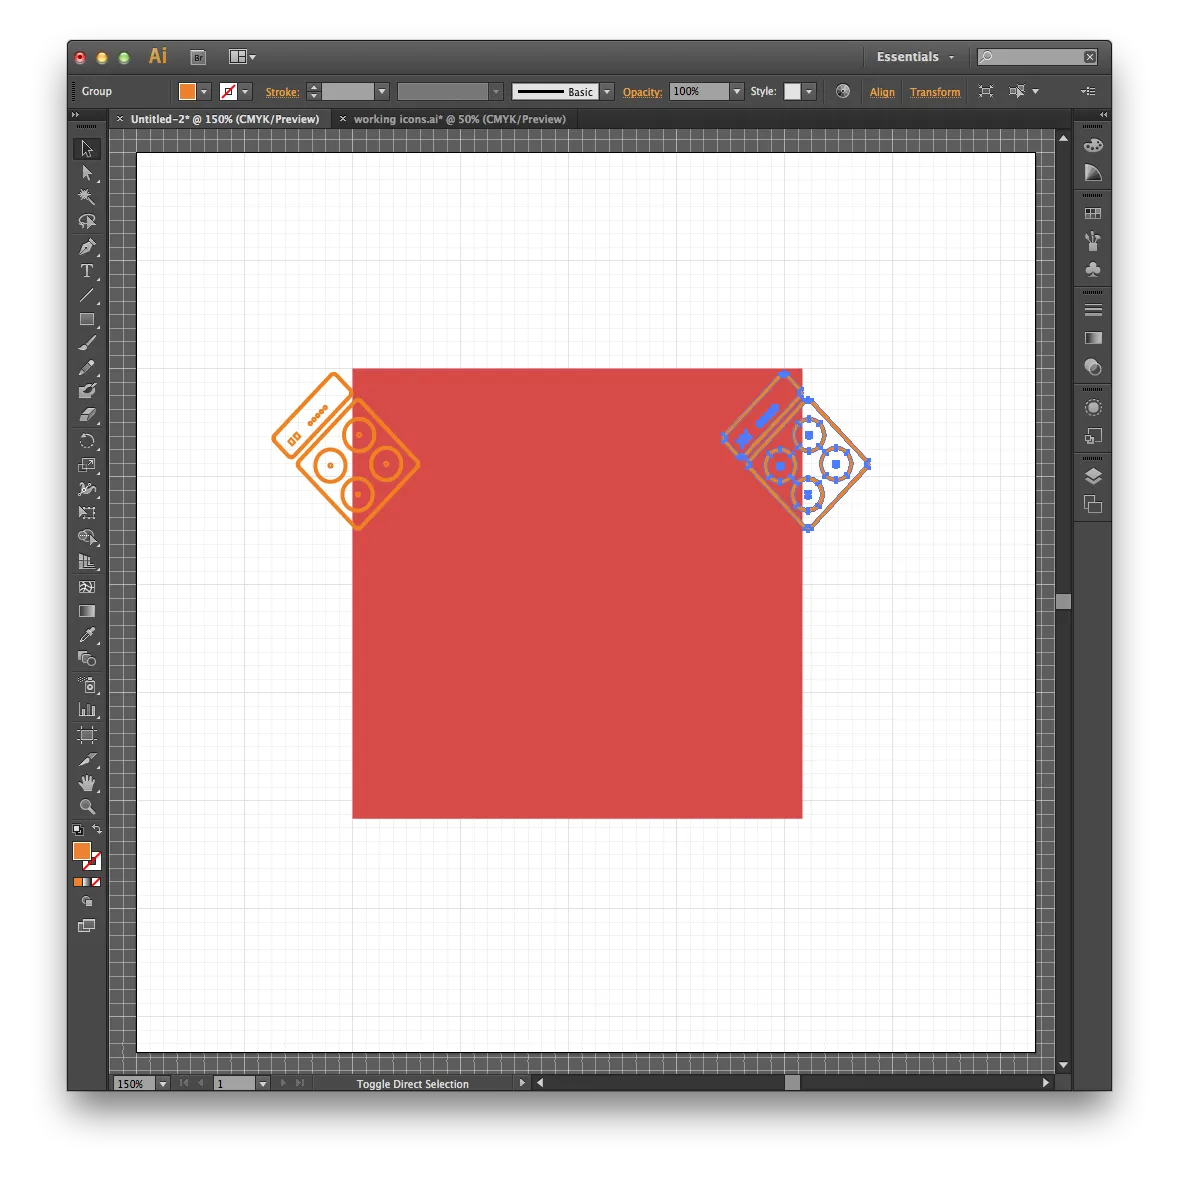
Repeat that same edge-alignment process all the way around the perimeter of the square.
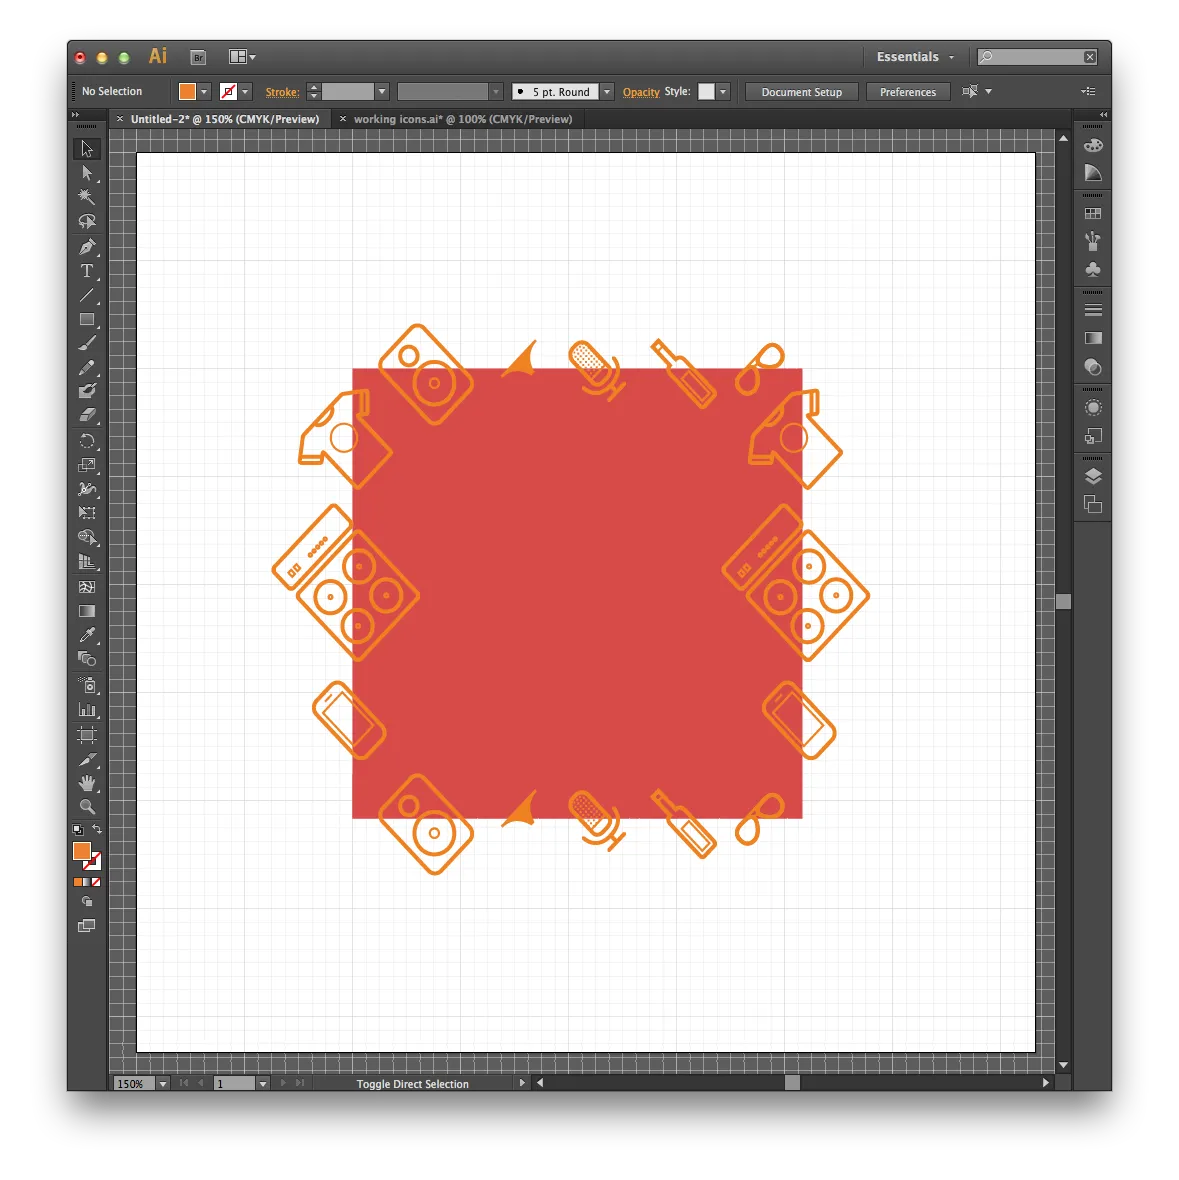
From there, start filling in the rest of the icons on the inside. The trick is keeping it visually balanced — once the pattern actually tiles, any spacing irregularities become very obvious very fast.
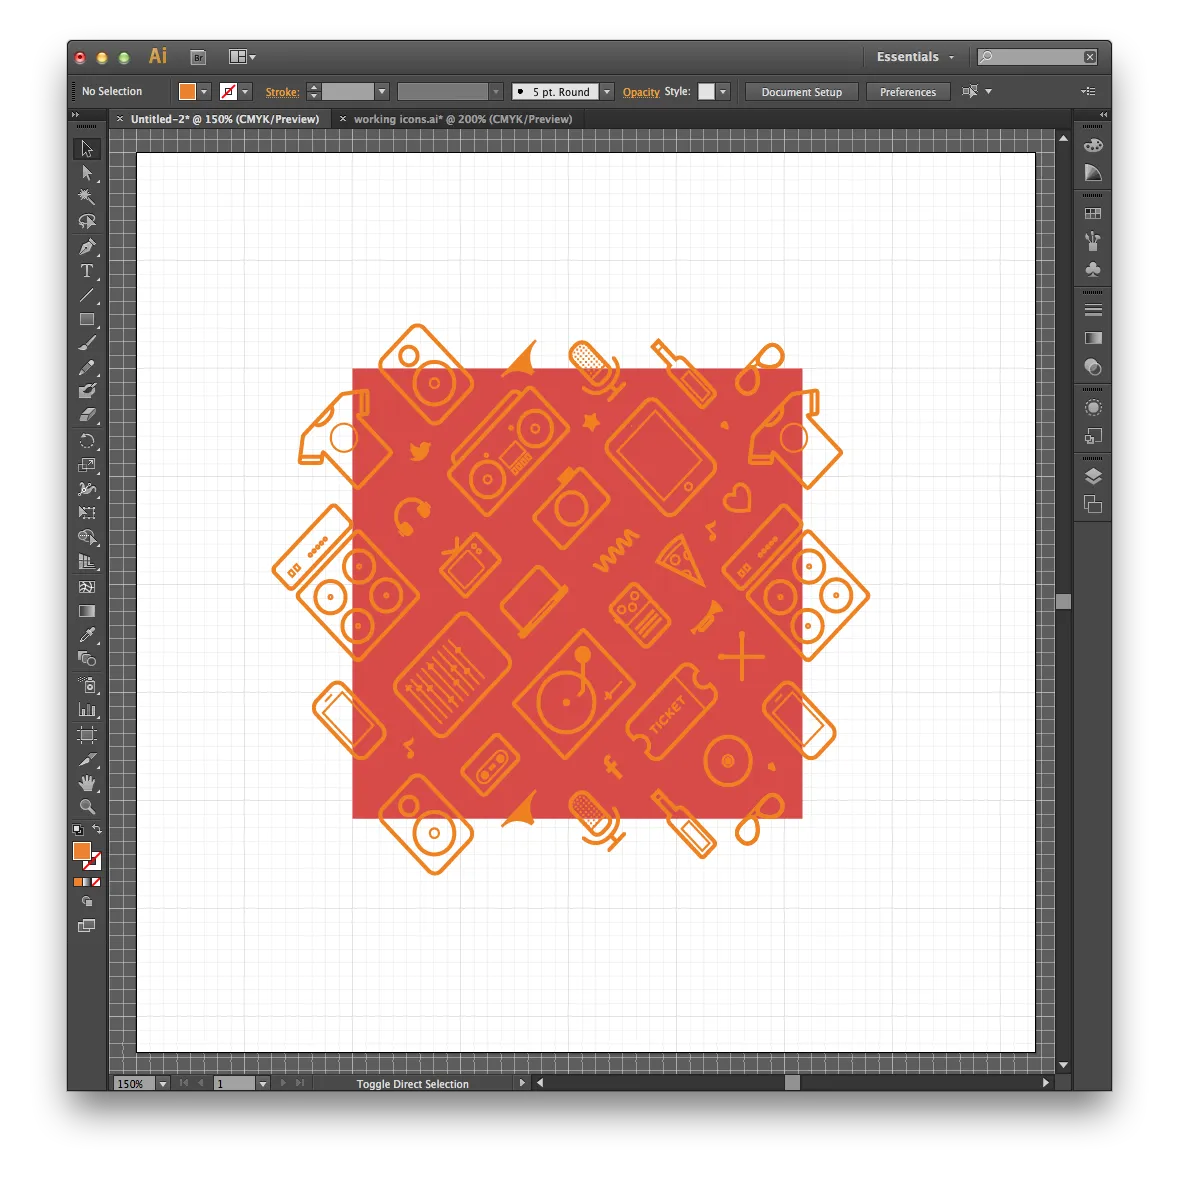
That’s a solid start. Now unlock the bottom square layer and strip its fill.
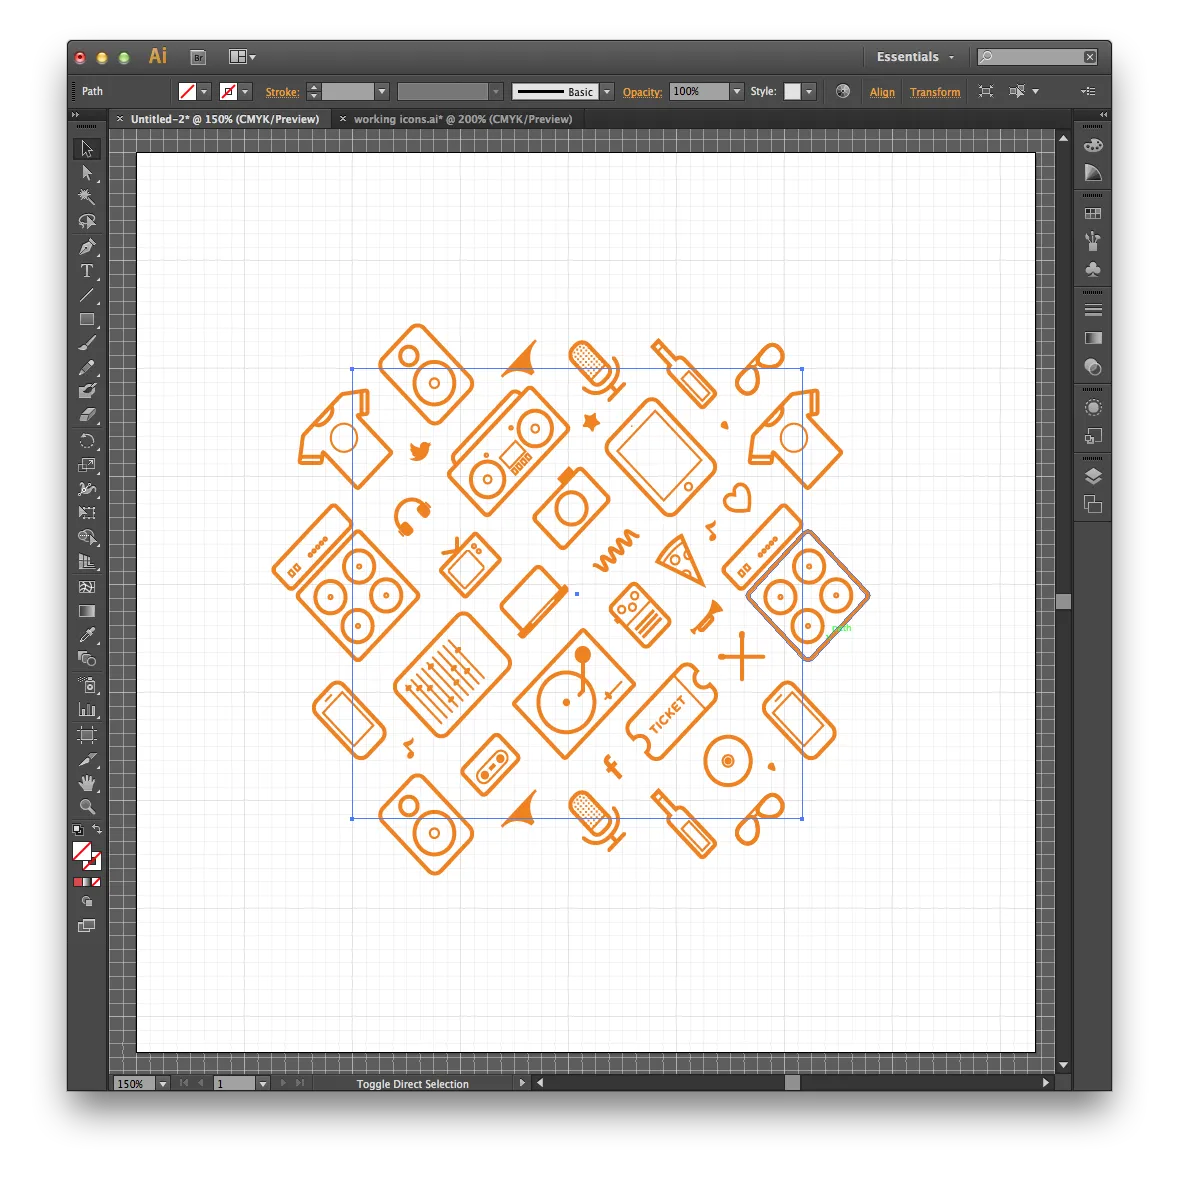
Select everything — including the now-unfilled square — and drag the whole selection into the Swatches panel (Window > Swatches). In the dialog that pops up, choose Pattern brush.
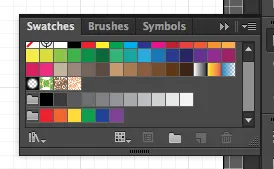
That’s it. Test it out by drawing a new shape (U) and filling it with the swatch you just created.
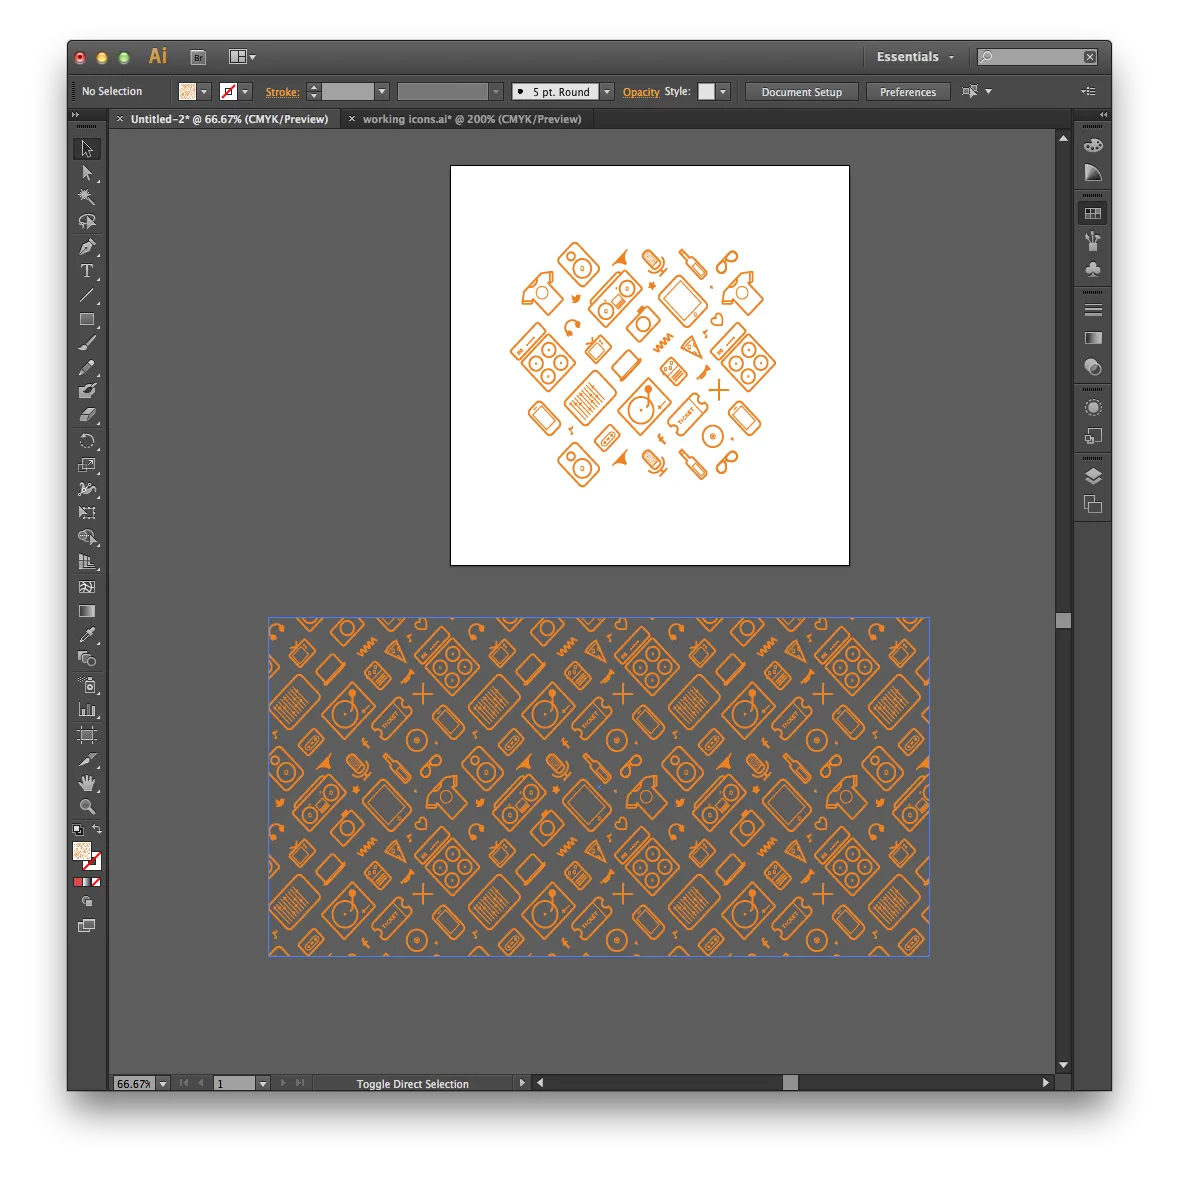
Add a complementary background color, and you’re good to go.